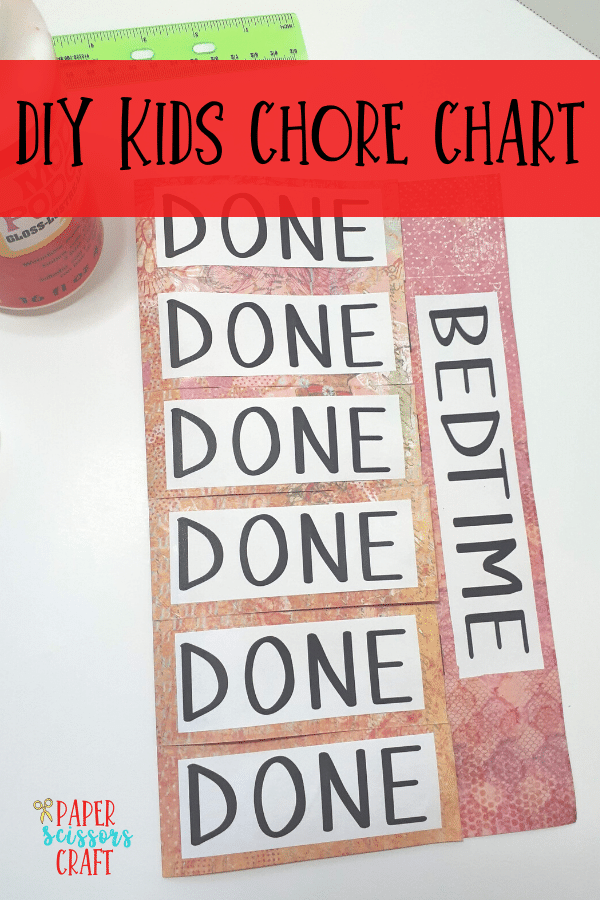
DIY Easy Kids Flip Chore Chart and Template
In this post you will learn how to make one of the easiest kids chore charts.
Flip Kids Chore Chart
I knew once I became a mom that I wanted to teach my kids how to be responsible. There are many ways to do this, but I knew I wanted to implement chores. I did chores as a child (as most of us did), and they are not overrated. I hated them, but I know they taught me self-discipline, hard work, and responsibility. It’s one of the first ways to teach kids how to be responsible.
Most kids like to make chores a game or check off a checklist. My daughter loves lists and she loves games. My daughter and my son LOVE this chore chart. They love flipping the little rectangles over and seeing it all nice and DONE. They usually race to finish their chores at night.
I also think it gives her a sense of pride knowing she doing something and accomplishing it on her own.
(Before making a chore chart, you can download my template. If you don’t want to use my template, there are instructions below to make your own.)
How to make a Flip Kids Chore Chart
This post contains affiliate links.
Supplies
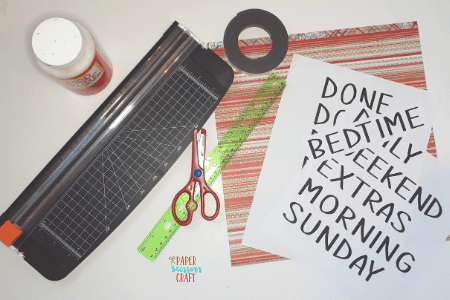
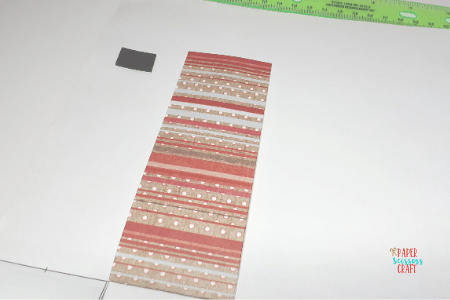
12 X 12 sheet of card stock/scrapbook paper. (As pretty or as plain as you’d like. You will be using both sides of the paper, so if you want a design on the whole chore chart, use a double-sided paper.) Paper Tip: You can buy single pieces of paper from Hobby Lobby if you just need one for this project, or are looking for a specific pattern. They go on sale often, or you can use the 40% coupon that they ALWAYS have on their website.
Pen/Pencil
Ruler (If you don’t have a ruler, get one from the dollar store. It’s a pack of 3 plastic rulers for $1. Can’t beat that, and they work perfectly.)
Paper cutter (Paper cutters always come in handy. I love mine and use it often. They are relatively cheap too!)
Scissors (If you don’t want/have a paper cutter)
Glue or Mod Podge (I love my Mod Podge)
Adhesive Magnet strip (that’s easy to cut)
Chore Chart Template(You can use mine, or make your own title, chore drawings, and “done” label. If you decide to do your own template, the instructions are below).
Instructions: (The short version)
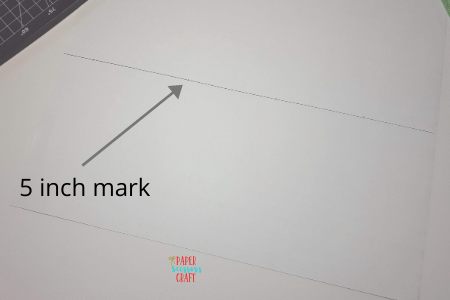
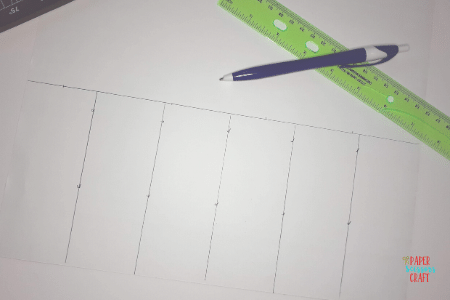
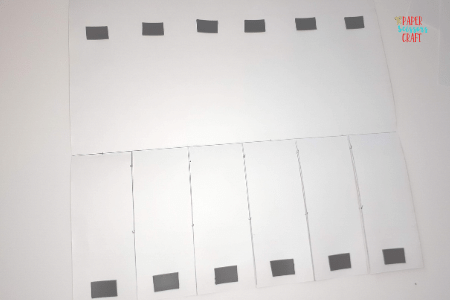
Take your 12 X 12 card stock and measure 5 inches from the bottom. Draw a light line with a pencil across the paper. This will be used as a guide.
Starting from the edge of the paper, make a mark every two inches across the paper below the 5 inches line.
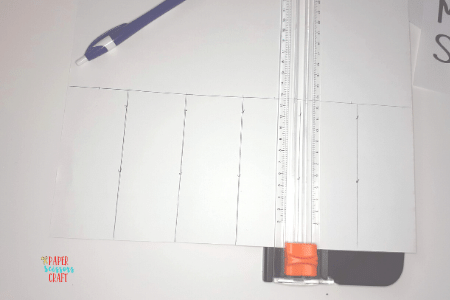
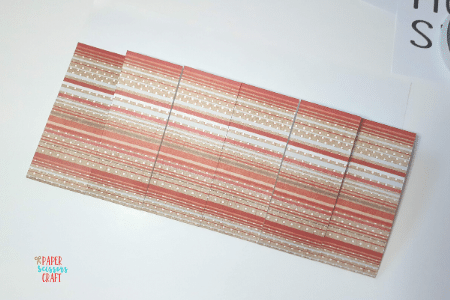
Using your paper cutter (or scissors), cut from the bottom of the paper to the 5-inch line at every 2-inch mark. You should have 6 stripes or rectangles hanging from your paper at the 5-inch mark.
Fold each 2-inch rectangle at your 5-inch mark.
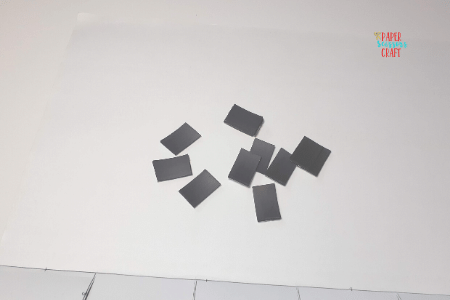
Cut 12 magnet pieces from your magnet strip about 3/4 an inch to an inch wide.
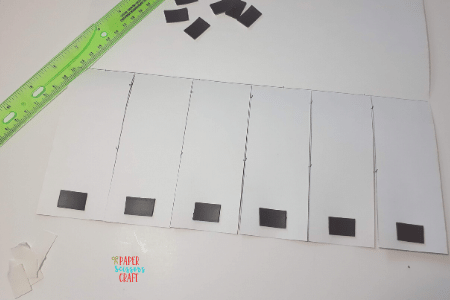
Place a magnet on the inside end of each rectangle strip as well as where the rectangle strip hits the other side of the paper.
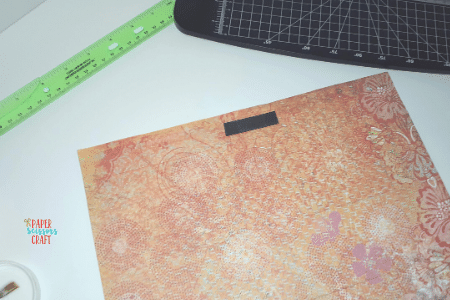
Cut a magnet strip about 2-3 inches wide and place it on the back of the top of your chore chart.
You have now created your chore chart.
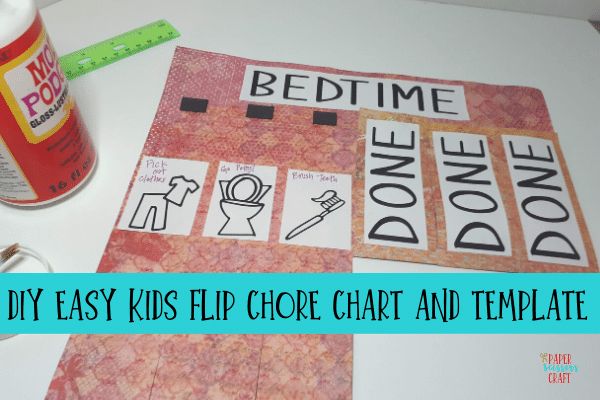
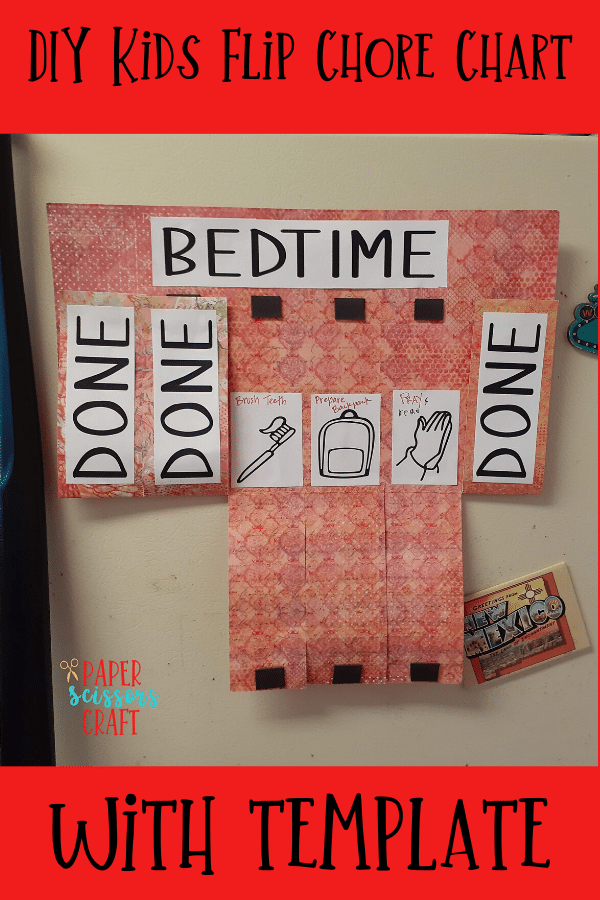
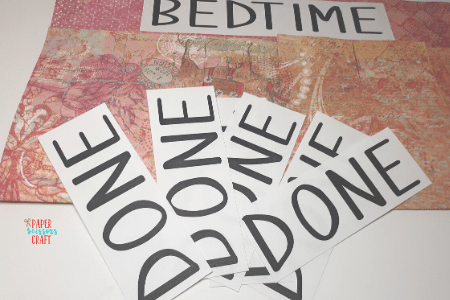
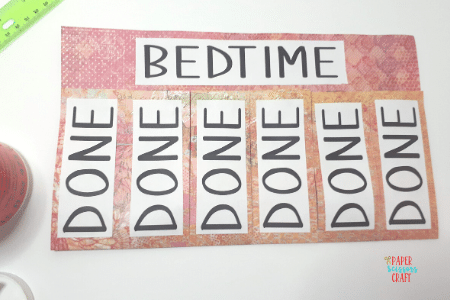
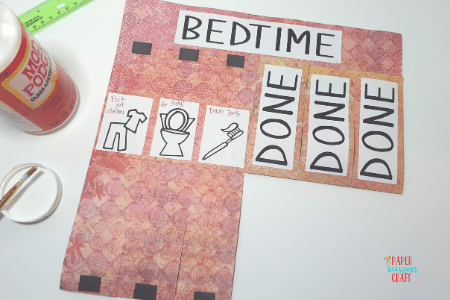
Next, take the Chore Chart Template cut out the 6 “DONE” labels and glue them to the front of each rectangle strip.
Pick what heading you want from the list of headings and glue it to the top of your chore chart.
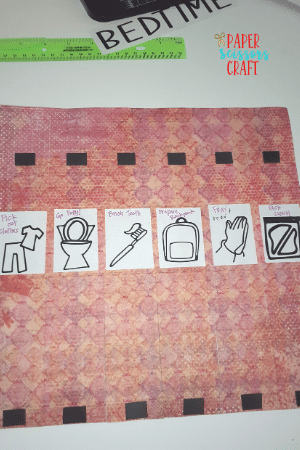
Pick the 6 chores you want to add to the chart and glue them on the inside of each rectangle flat so that when you open the flap, you see the chore picture.
Hang the chore chart on the fridge or wall and watch your kids melt over having to do chores. haha.
If you are making your own labels and chores, see additional instructions below.
Instructions: (The long version)
The long version: an extensive look at the instructions with my tips, concerns, pictures, and way too many opinions. To help demonstrate this project, I used a card stock with a white back.
Take your 12 X 12 card stock and measure 5 inches from the bottom. Draw a light line with a pencil across the paper. This will be used as a guide. I did my lines a little darker so you could see them in the pictures. You will be seeing this side of the chore chart when it’s finished, so make sure to use light lines, or lines you can erase.
Starting from the edge of the paper, make a mark every two inches across the paper below the 5 inches line.
Using your paper cutter, cut from the bottom of the paper to the 5 inch line at every 2 inch mark. You should have 6 stripes or rectangles hanging from your paper at the 5 inch mark. A paper cutter really is the easiest way to do this and have nice straight lines.
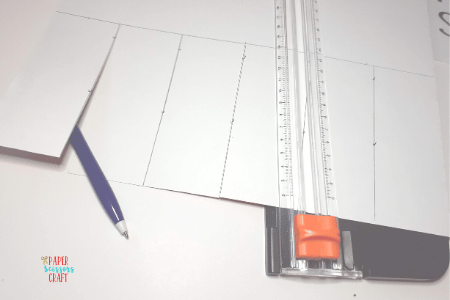
Fold each 2 inch rectangles at your 5 inch mark.
Cut 12 magnet pieces from your magnet strip about 3/4 an inch to an inch wide. It doesn’t really matter how big you make them, they don’t have to be exact, just make them all about the same size so it looks uniform.
Place a magnet on the inside end of each rectangle strip as well as where the rectangle strip hits the other side of the paper.
A good trick here, so that you know you are getting the other magnet in the right place is to put the magnets together and then close the flap.
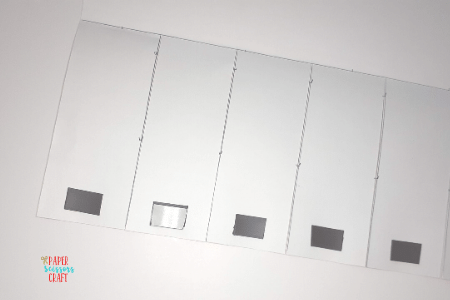
Where ever it lands is where you will place it!
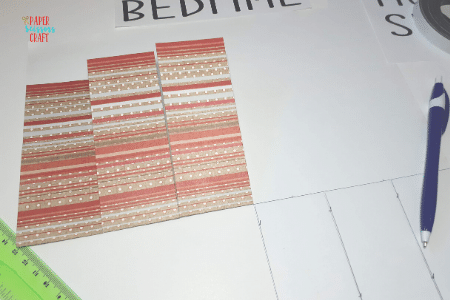
Cut a magnet strip about 2-3 inches wide and place on the back of the top of your chore chart. (The pictures from here on switch to other chore chart I made so you can see how pretty it can be. You can see how we use both sides of the paper.)
You have now created your chore chart.
Next, using the template sheets, cut out the 6 “DONE” labels and glue them to the front of each rectangle strip.

Pick what heading you want from the list of headings and glue it to the top of your chore chart.
Pick the 6 chores you want to add to the chart and glue them on the inside of each rectangle flat so that when you open the flap, you see the chore picture. I chose to write on my chore pictures, my template includes chore pictures with words if you don’t want to write them in yourself.
You now have an awesome chore chart!
Instructions for Making your own Template
If you are making your own template for the chore chart, you’ll want to make sure you use the right measurements so it fits into your chart.
You need to make a header/title, chores, and done labels.
The titles are 7 inches X 1-1/2 inches. You can make them wider if you want.
The chores are 1-3/4 inches X 2-1/2 inches. You could make them taller if you wanted.
The done labels are 1-1/2 inches X 4-1/4 inches. That size fits perfectly into the rectangle.
If you have any other questions about how I made them, feel free to reach out to me, or leave a comment below. If you don’t want to make your own chores and labels, you can get my template here..
The flip kid’s chore chart is so easy to make and the kids love it! It makes chores fun! Win-Win!
Related: How to Make Foam Bubbles
Related: Kids Artwork Display Wall
Related: How to make Squishies with memory foam

Leave A Comment