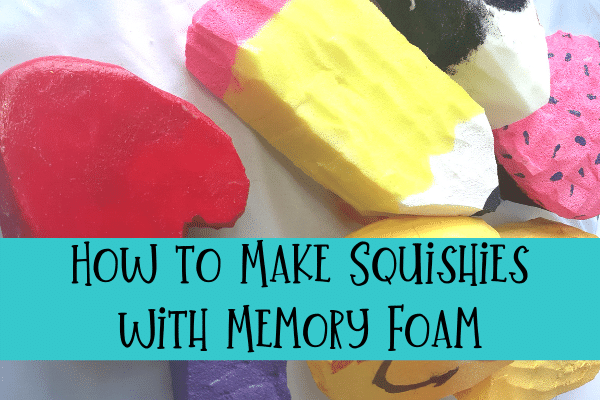
How to Make Squishies with Memory Foam (DIY Squishies and Squishy ideas)
This post contains affiliate links.
In this post you will learn how to make squishies in various ways, and get a step-by-step of how we DIY our squishies.
The Squishy
I’m not going to lie, I am obsessed with squishies. This is one of those crazes that I can get on board with. I’m not a huge fan of the unicorn craze (and of course there are a bazillion unicorn squishies), not that I don’t like unicorns, but my husband and I try to find the craziest things with unicorns on them.
And a Donald Trump squishy? Why?
I digress…
I don’t know why, but there is just something relaxing about squishies. They’re great for anxiety, and they’re just fun.
My kids also love squishies. It takes all their might not to touch mine. (I know that it’s going to end up with bite marks one day, and no one will know how it happened.)
When I saw that I could make my own, I had to try. My daughter was pretty floored too when I told her we were going to MAKE squishies.
I did some research and decided to make them based on the best and cheapest option for us. I’m going to give you a few different options, and you can decide for yourself.
Here’s how we did it. There are a few variations, and I’ll explain those.
How to make Squishies with Memory Foam
Supplies:
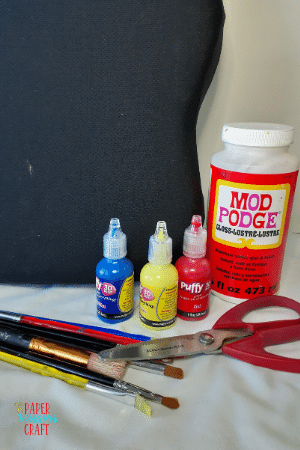
Mod Podge, or some type of liquid adhesive (a good craft glue should work as well.)
Acrylic paint or puffy paint (I have collected paint through the years. It always comes in handy. You can buy individual paints at any craft store or Wal-Mart for a dollar).
Paint Brushes
Scissors (Good, sharp, and sturdy scissors, I used my kitchen scissors)
Memory Foam (More information on this below)
Total Cost: $13-$30
Time: 20-30 Minutes
Amount: 5-25 squishies (depending on your size of cushion and how big you make them)
I spent $13.00 because I already had the paint, scissors, paint brushes, and Mod Podge. I just had to buy the memory foam.
If you are buying all the items it would total roughly $20-$30. (Most of that is the memory foam).
If you don’t have paint brushes, I highly recommend buying a cheap set. It comes with all different types and sizes, and they’re great for just about any kids craft project. I have a set that’s mine and one for the kids.
Where to get Memory Foam for Squishies
I researched this a bit to find out the cheapest way. You can buy little memory foam squares from Wal-Mart and a few other places, but all the reviews said they were really small. They are like $5.00 a square, which is pretty pricey. The upside is that it could be easier to cut and paint.
The cheapest way is to buy a product that is already made out of memory foam and cut it up. You can get memory foam pillows, seat cushions, neck cushions, really any type of cushion. I think this seat cushion from Amazon would be good because it’s flat and square, which is great for cutting.
Be careful when you are looking for a pillow because a lot of the pillows are shredded memory foam. That wouldn’t really work for this project.
I wanted to get a pillow, but couldn’t find one. I was looking around Wal-Mart, and I came upon a seat cushion. It ended up being perfect. I even bought the off-brand seat, and it worked great.
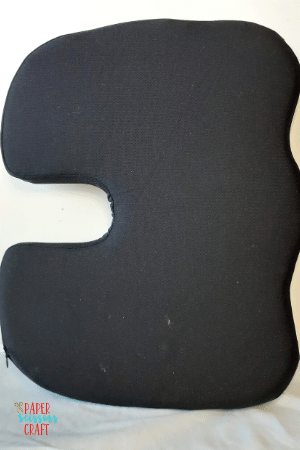
My only complaint is that because it’s a seat, they formed it to fit around someone’s buttocks, so it’s not like a uniform square piece of memory foam. I was okay with this because my kids wouldn’t care.
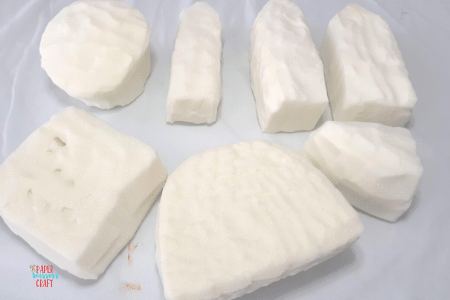
With the seat cushion we bought, we made about 11 squishies, and still have about a fourth of it left over. Mostly because mommy was tired of sculpting. They range in size from 4-5 inches X 3-5 inches.
Step by Step for How to make Squishies
If you know my posts, I usually do short instructions, then long instructions, but there are so many variations with this project that it’s easier to just do the long instructions which include more details, tips, mess ups, and of course, my opinions.
-
Cut the memory foam
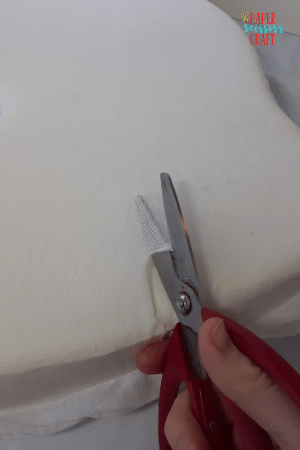
If you bought just straight up memory foam, like the squares. You won’t have to do any prep work. If you went the cheaper route, you’ll need to cut off the outer covering.
Mine had a zipper covering, and then an outer white mesh that I had to cut off.

Once you get to the bare memory foam, you can cut it into any shape you’d like your squishy to be. I would keep it simple, unless you are good at sculpting.
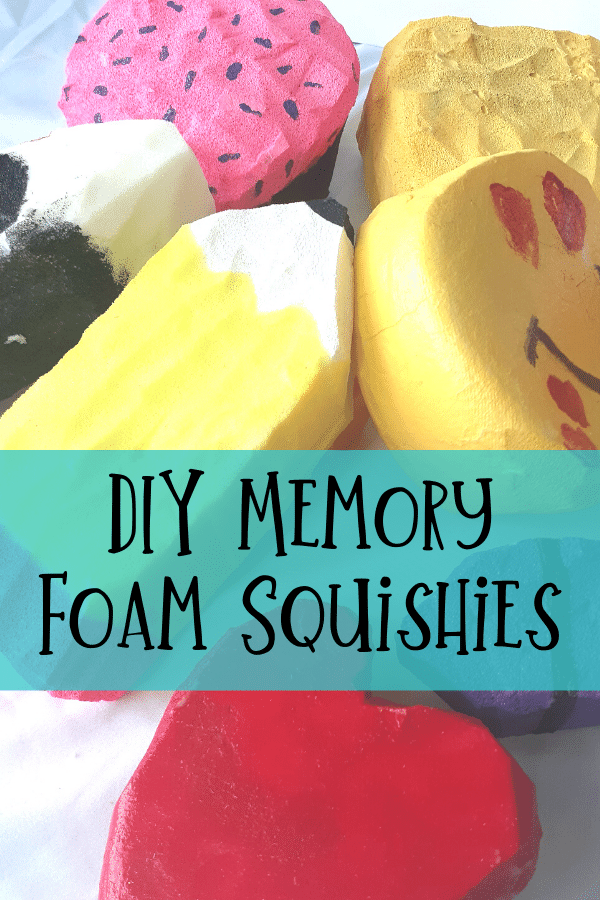
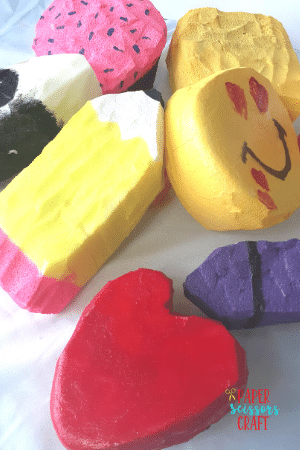
Squishy Shape ideas
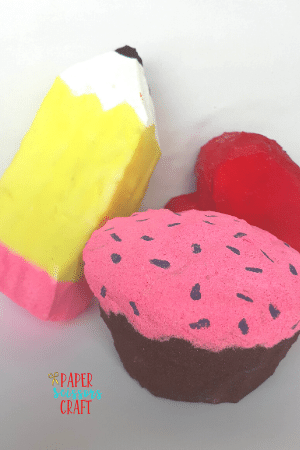
Watermelon
Rainbow
Pencil/Crayon
Emoji
Heart
Cupcake
Cheese
Marshmallow
Pizza
Cactus
Ice Cream
Bread
Donut
Cookie
Animal head
Bear
Snowman
Tip #1:
A tip for cutting is to cut at an outward angle. Because the foam is thick, it’s hard to keep it straight, but you can always cut it down. 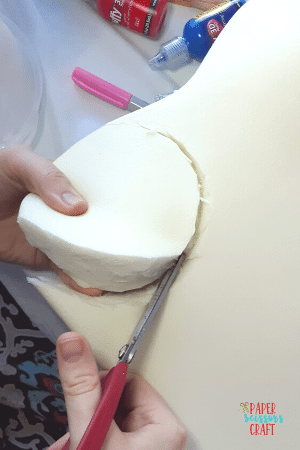
Tip #2:
While you cut down your shape, make sure you cut off the slick outer layer of the foam, if you have it. On the seat cushion we used there was a clear, smooth coating. The paint does not stick to this very well. You have to cut it off and then cut your shape.
I just cut off a very thin layer all around so that shiny, smooth layer wasn’t there anymore.
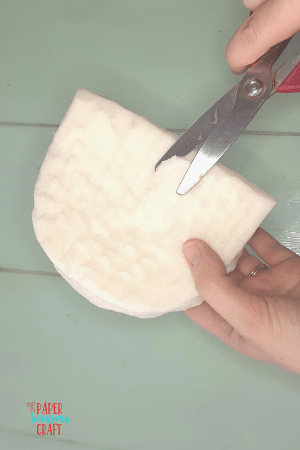
Tip #3
It’s going to be pretty hard to make your squishy look smooth. (Again, unless you’re an amazing sculptor.) That’s okay, once painted, it looks good, and gives it a nice texture. Plus, the kids don’t care.
-
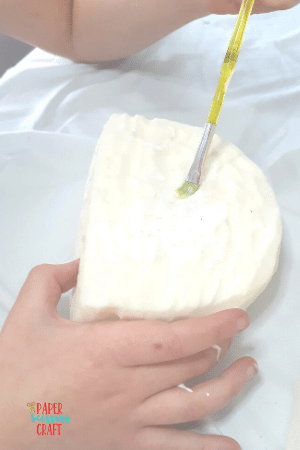
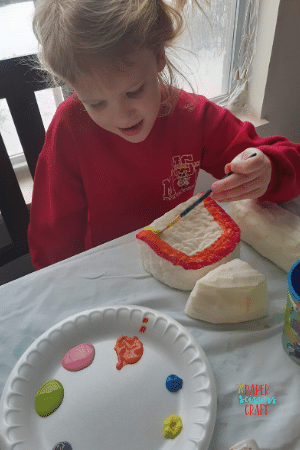
Paint your squishy.
I experimented with this because I wanted to make sure my paint stayed. We experimented with 4 different things (I tried acrylic and puffy on different ones to see which paint held up better:
– We applied Mod Podge on the squishy first, then once mostly dry, painted it with acrylic or puffy paint.
– We mixed the Mod Podge with both the puffy or acrylic paint and then painted it on.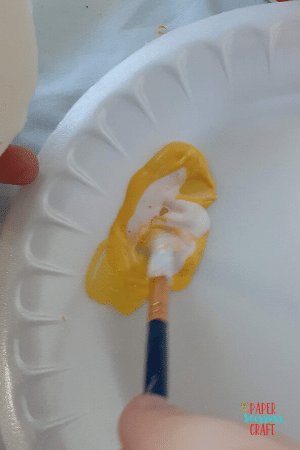
– We painted it with puffy or acrylic paint and then put the Mod Podge on.
– We just painted with puffy or acrylic paint with no clear coating.
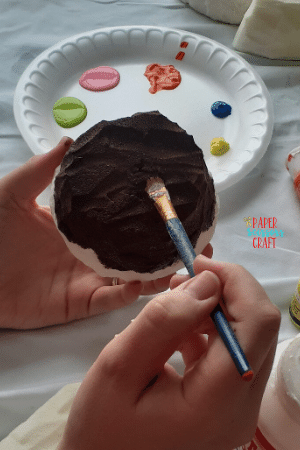
We discovered the best way is to use the puffy paint, and either mix the paint with the Mod Podge (or adhesive coating), or paint it then add the adhesive.
This is because if you do the Mod Podge first, it all soaks into the foam, and your paint won’t. You want the paint to soak in too. If you paint it first, the paint gets absorbed really well and then you can put the clear adhesive on to help the paint stay on longer. You choose. The paint seemed to hold up well with both of them.
The acrylic paint also worked well, but I felt like the puffy paint held up better.
-
Let everything dry.
If you find that you have some cracking, just fill in with more paint and adhesive. I don’t know how long these will hold up, but we’ve had ours for about 3 weeks and they’ve done well. And that’s saying a lot with my crazy kids.
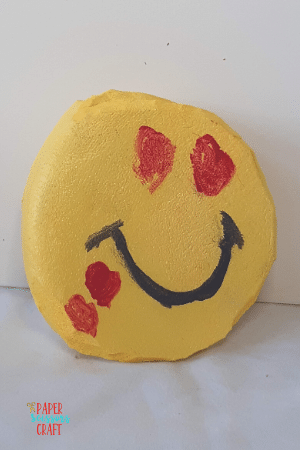
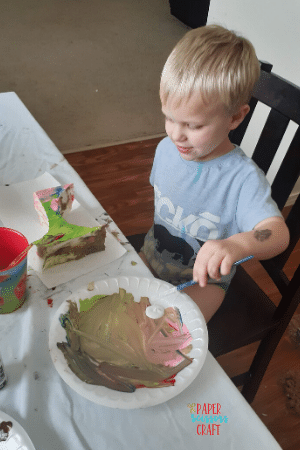
We loved this activity. I loved experimenting and painting a 3D object. My sculpting got better with each squishy we made. My first couple were not very uniform at all!
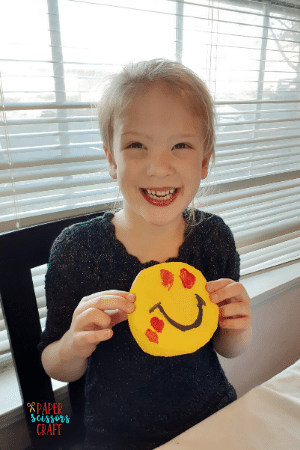
My kids love to paint and they love the squishies, and the fact that they made them, made it even better!
Alternative Options for How to Make Squishies:
If you don’t like this option, there are some other options you can do.
How to make squishies with paper
Did you know you could make squishies with paper? They are pretty cool. You can find examples of them at Red Ted Art. I don’t think they’re the cool-est because they don’t have the slow rise effect that I’m sure we all long for in a squishy. It is, however, the cheapest option, and it’s still a fun craft. I think my daughter would have been disappointed.
How to make squishies with your own foam
You can also purchase your own foam to make squishes. I think this was the most expensive option. The foam alone cost $30, and then you have to buy the molds. The advantage to these is that your squishes will turn out smoother. I didn’t think my kids would care about how smooth they were, so I didn’t use this option. Plus, by the time you bought all the supplies, you could have just bought a ton from the store. (I know, then you wouldn’t have the memories.)
There is also a Squishy making kit you can purchase that is similar to the option above. You can find it on eBay for about $34.00
Pre-made squishies
You can also buy plain white squishies that you can paint. No hassle of cutting them out. Just unpack and paint.
I think the great thing about this craft is if you buy the memory foam, they are super easy to make, and relatively cheap. You just cut them out, and your kids paint them. You could cut out several shapes, save them, and then pull them out when you need a quick activity, or when the other ones wear out. Win, Win, Win!
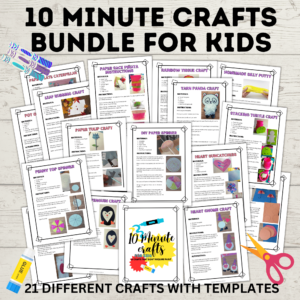
If you’re looking for some other fun and easy crafts, check out these 10 minute crafts and templates.
Related: 31 Quick and Easy Crafts to do with Your Kids
Related: 81 Would You Rather Questions for kids
Related: How to Make Foaming Bubbles (real fast)


Clean, modern design and easy to navigate—great job on the website! Everything is well-organized, and the layout is visually appealing. I had no trouble finding what I needed. It’s a smooth and enjoyable browsing experience from start to finish.
Thank you!
This is a fantastic and very practical guide to painting squishies! It’s clear you put a lot of time into experimenting to find the best method, and your tips and detailed breakdown of the process will be a huge help to anyone trying this DIY project.
Thank you!
How long did you have to wait for the first paint to dry before you painted the Mod Podge on top? Do you think you could use a hair dryer to speed up the drying process?
It doesn’t take too long to dry. Just wait until it’s dry to the touch. Mod Podge dries fast. And yes, I do think that a blow dryer would speed it up.