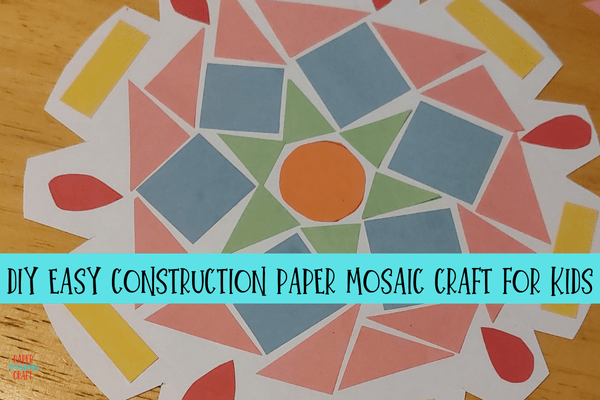
Looking for a fun and simple craft that keeps kids busy and boosts creativity? This DIY construction paper mosaic craft is the perfect activity for all ages! With just scissors, glue, and colorful paper, kids can create stunning mosaic art while practicing fine motor skills and color recognition. Whether you’re at home, in a classroom, or planning a Sunday school lesson, this low-mess project is a go-to favorite.
This post contains affiliate links.
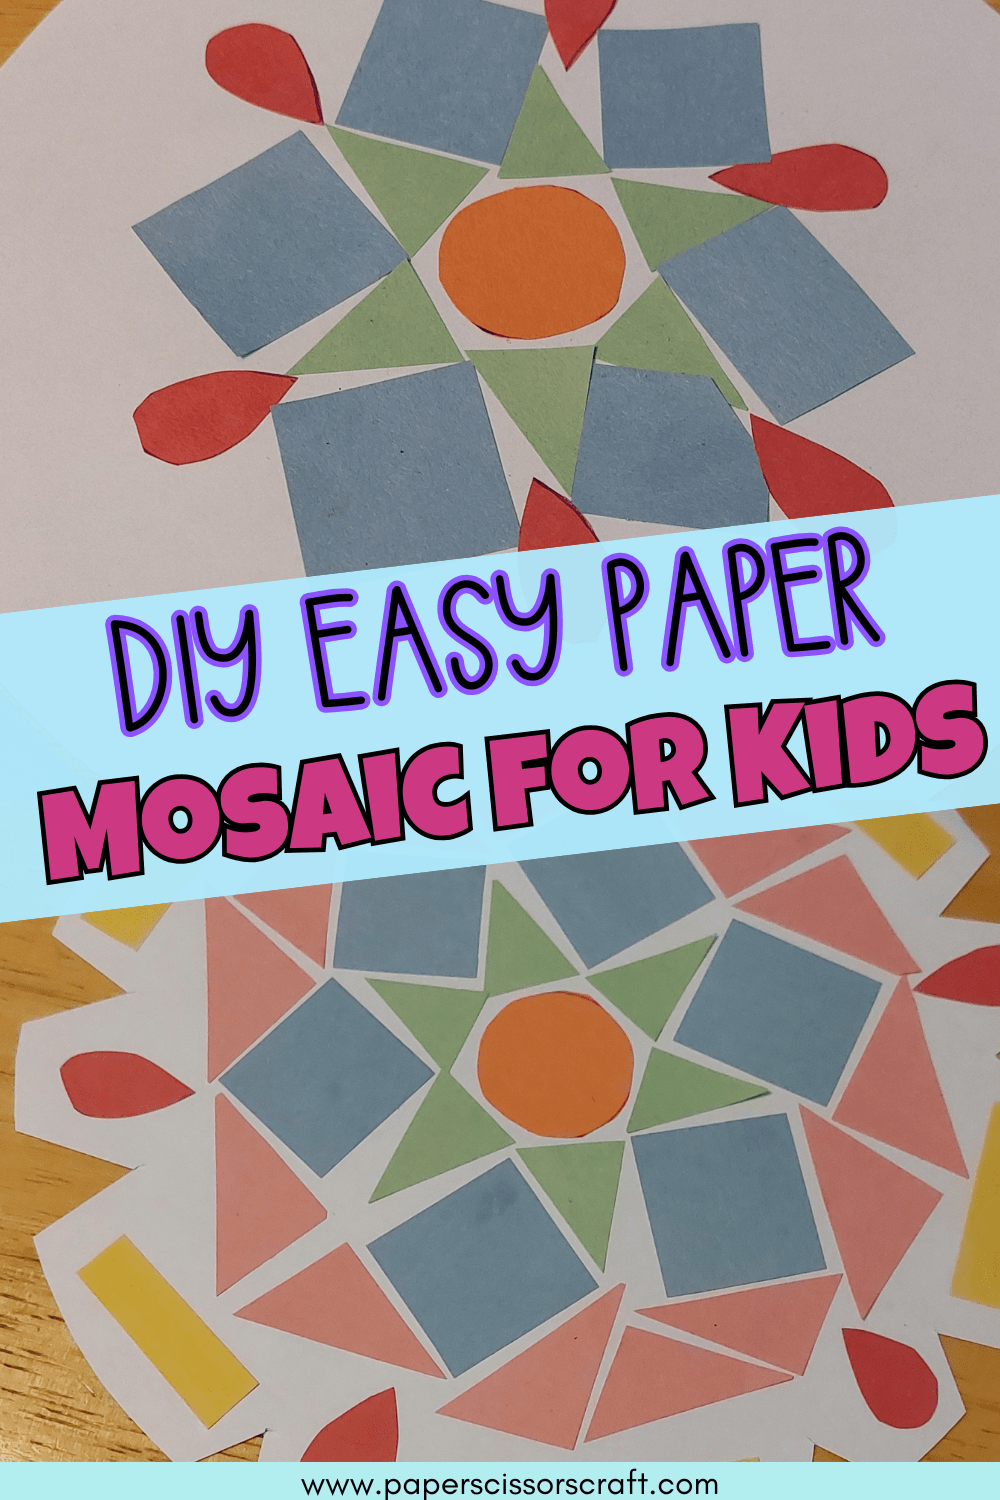
How to Make a Paper Mosaic Craft
Creating a paper mosaic is a fun and easy craft that kids of all ages can enjoy. With just a few simple materials like construction paper, glue, and scissors, children can make colorful designs while building fine motor skills and expressing creativity. Here’s how to get started!
Materials Needed:
-
Construction paper (various colors)
-
Scissors
-
Glue stick or white glue
-
Pencil (optional, for sketching outlines)
-
Blank background paper or cardboard (cardstock works best)
-
Ruler (optional, for cutting even squares)
Optional Add-ons:
-
Templates or stencils
-
Black construction paper for outlining
-
Markers for added detail
Instructions:
-
Choose a Design or Shape
Decide what your mosaic will be! It can be anything—like a heart, fish, cross, rainbow, sun, or even just an abstract pattern. Lightly sketch the outline on your background paper if you want a guide. I decided to make a circle as my background.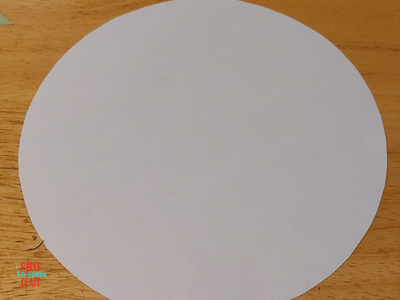
-
Cut Your Mosaic Pieces
Cut construction paper into small pieces—squares, triangles, or random shapes. About ½ to 1 inch in size works well. They don’t have to be perfect; a mix of shapes adds to the charm!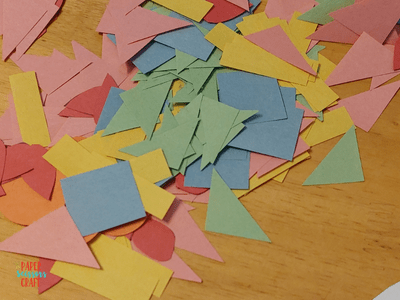
-
Arrange the Pieces
Before gluing, place the paper pieces on your design to test the layout and color mix. This helps kids visualize the final look.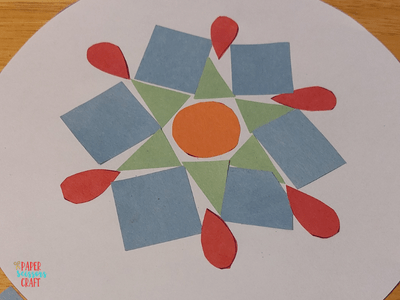
-
Glue the Pieces in Place
Using a glue stick or small dots of white glue, stick each paper piece down, leaving tiny gaps between them to mimic a true mosaic effect.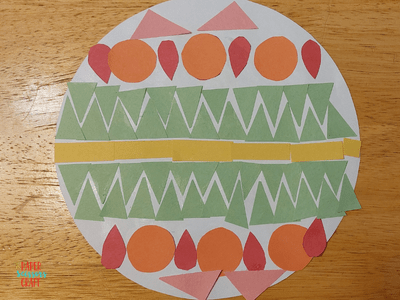
-
Add Details (Optional)
Once dry, add outlines with black paper or marker, or draw extra details on top of the mosaic for a polished finish.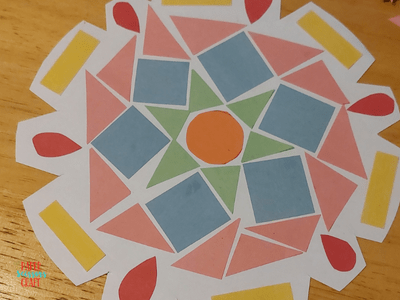
Common Questions About Construction Paper Mosaic Crafts
-
What age is this mosaic craft suitable for?
Ideal for kids ages 3 and up. Younger children may need help cutting, while older kids can create more detailed designs. -
What kind of paper works best for mosaics?
Construction paper is perfect because it’s easy to cut and comes in bright colors. You can also use tissue paper, scrapbook paper, or even recycled magazines. -
Do the mosaic pieces need to be the same size or shape?
Not at all! Irregular shapes add fun and texture, but using uniform squares or triangles can create a more organized look. -
Can I use this craft for a specific theme (like holidays or Bible stories)?
Yes! This craft is easy to adapt for any theme—try hearts for Valentine’s Day, pumpkins for fall, or crosses for Bible lessons. -
What glue works best for this craft?
Glue sticks are great for less mess, while white school glue gives a stronger hold. Use small dots to avoid wrinkles. -
How long does this craft take?
Typically 20–40 minutes, depending on the child’s age and how detailed their design is. -
Can I do this as a group or classroom activity?
Definitely! It’s perfect for classrooms, Sunday school, or playdates. Pre-cutting paper pieces can make it even easier.
How will you Make your Paper Mosaic Look?
Construction paper mosaics are a great way to combine creativity and learning in one easy craft. Kids love choosing their colors, cutting shapes, and watching their designs come to life piece by piece. Plus, with so many ways to customize the project, it’s a perfect fit for any theme, season, or age group. Give it a try—you might just be surprised how beautiful simple paper scraps can be!
Related: 52 Easy Paper Crafts for Kids
Related: 32 Recycled Crafts for Kids
Leave A Comment