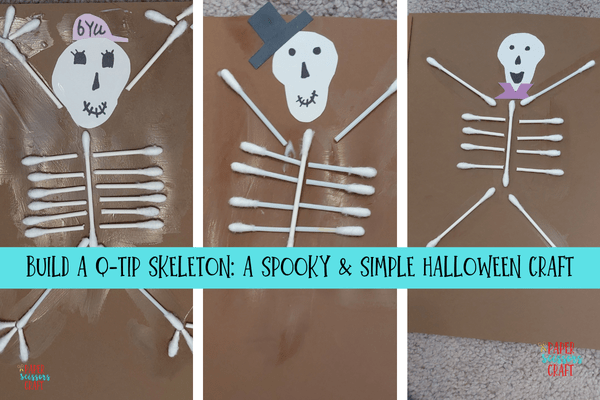
Looking for a fun, low-mess Halloween craft that’s both spooky and educational? This Q-tip skeleton project is the perfect mix of creativity and science. With just a few household supplies, kids can build their own bony buddy while learning about the human body in a hands-on, engaging way. Whether you’re decorating for Halloween or teaching about bones, this simple craft is sure to be a hit.
This post contains affiliate links.
How and Where to Use Q-Tip Skeleton Craft
The Q-tip skeleton craft is a fun and versatile activity that can be used in a variety of settings to combine creativity with learning. It’s especially great for fall and Halloween-themed projects, but it also works well for lessons about the human body or bones. Here are some ideas for how and where to use it:

-
Classroom activity – Use it during science lessons to talk about the skeletal system or during Halloween week for a festive hands-on craft.
-
Homeschool project – Pair it with books or videos about the human body for a multi-sensory learning experience.
-
Fall festivals or Halloween parties – Set up a craft station where kids can make their own spooky skeleton to take home.
-
Sunday school or youth groups – Use it as a quiet activity with a theme like “God made our amazing bodies.”
-
Rainy day or weekend craft – A great low-mess option for keeping kids entertained at home.
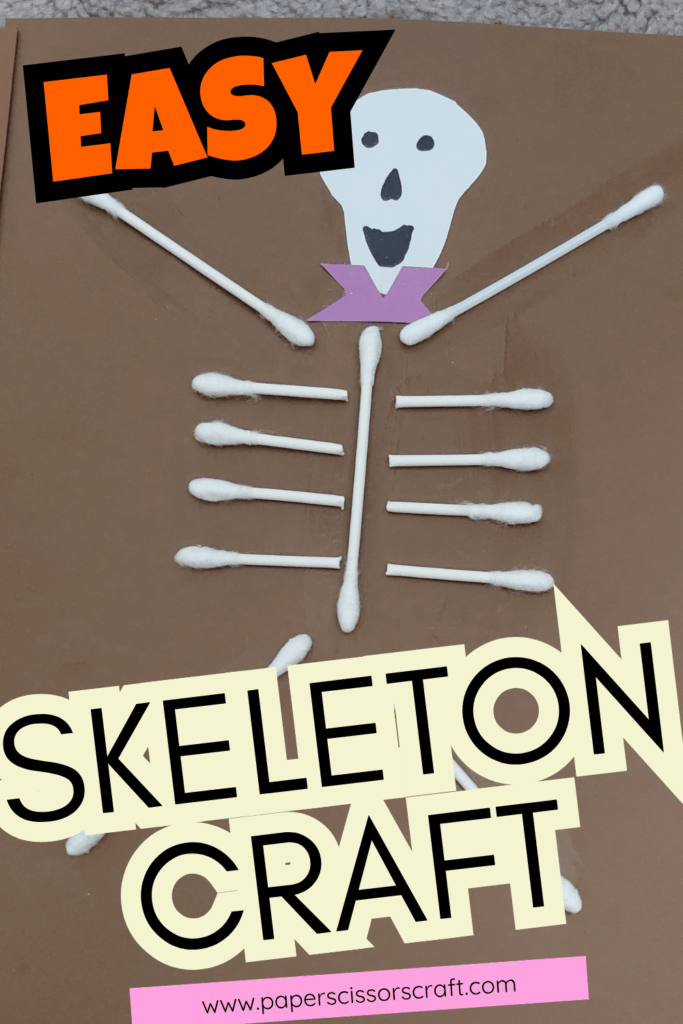
How to Make a Q-tip Skeleton
Want to create your own spooky skeleton? With just a few simple materials, you can make a fun and bony Halloween craft. Follow these easy steps to bring your Q-tip skeleton to life!
🦴 Supplies Needed:
-
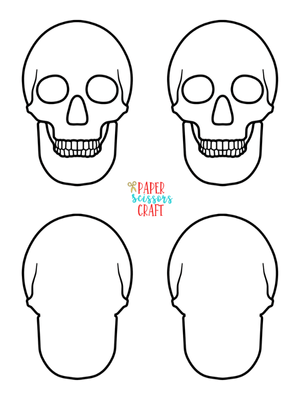
Printable skeleton head template (draw one or download mine for free, here..)
-
Q-tips (about 10–20 per skeleton)
-
Black construction paper (for the background)
-
Scissors
-
White glue or glue stick. We used Mod Podge and it worked really well.
-
Optional: Googly eyes, colored paper, or a white crayon for extra detail
🛠 Instructions:
-
Print the Skeleton Head
Print out or draw a simple skeleton skull on white paper. Cut it out. -
Prepare the Q-tips
Cut some Q-tips in half for shorter bones (arms, ribs, etc.), and leave others whole for the spine or legs.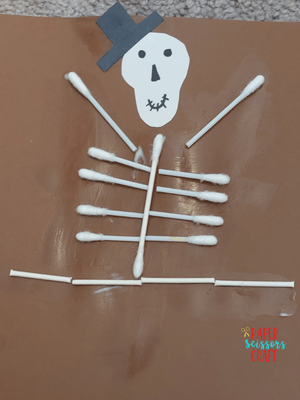
-
Plan the Skeleton
Lay out the Q-tips on the black paper to form a skeleton body. Start with a spine down the center, then add ribs across, arms and legs, and finally the skull at the top. -
Glue Everything Down
Once you’re happy with your layout, glue the Q-tips in place. Finish by gluing the skull at the top of the spine.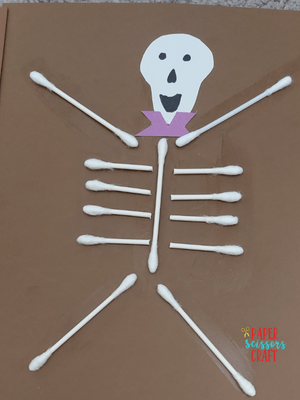
-
Add Details (Optional)
Glue on googly eyes or draw bones, a mouth, or a name tag for your skeleton with a white crayon. You can add a hat or a purse, or anything you want to.
What will your Skeleton look like?
This Q-tip skeleton craft is a great way to blend fun and learning during the Halloween season. It’s easy enough for younger kids, yet open-ended enough for older ones to get creative. Whether you’re using it at home, in a classroom, or at a party, it’s the perfect spooky addition to your October lineup.


Leave A Comment