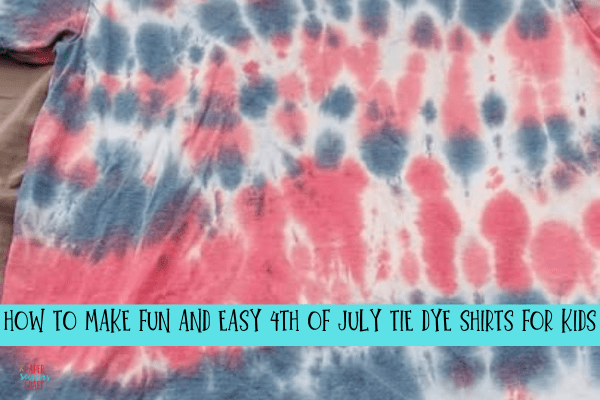
Looking for a festive and creative way to celebrate Independence Day with your kids? These 4th of July tie dye shirts are the perfect mix of messy fun and patriotic flair! With just a few simple supplies, your kids can create their own red, white, and blue masterpieces—perfect for parades, BBQs, or watching fireworks. This easy DIY project is a great way to get crafty together while making memories (and cute shirts!) for the holiday.
This post contains affiliate links.
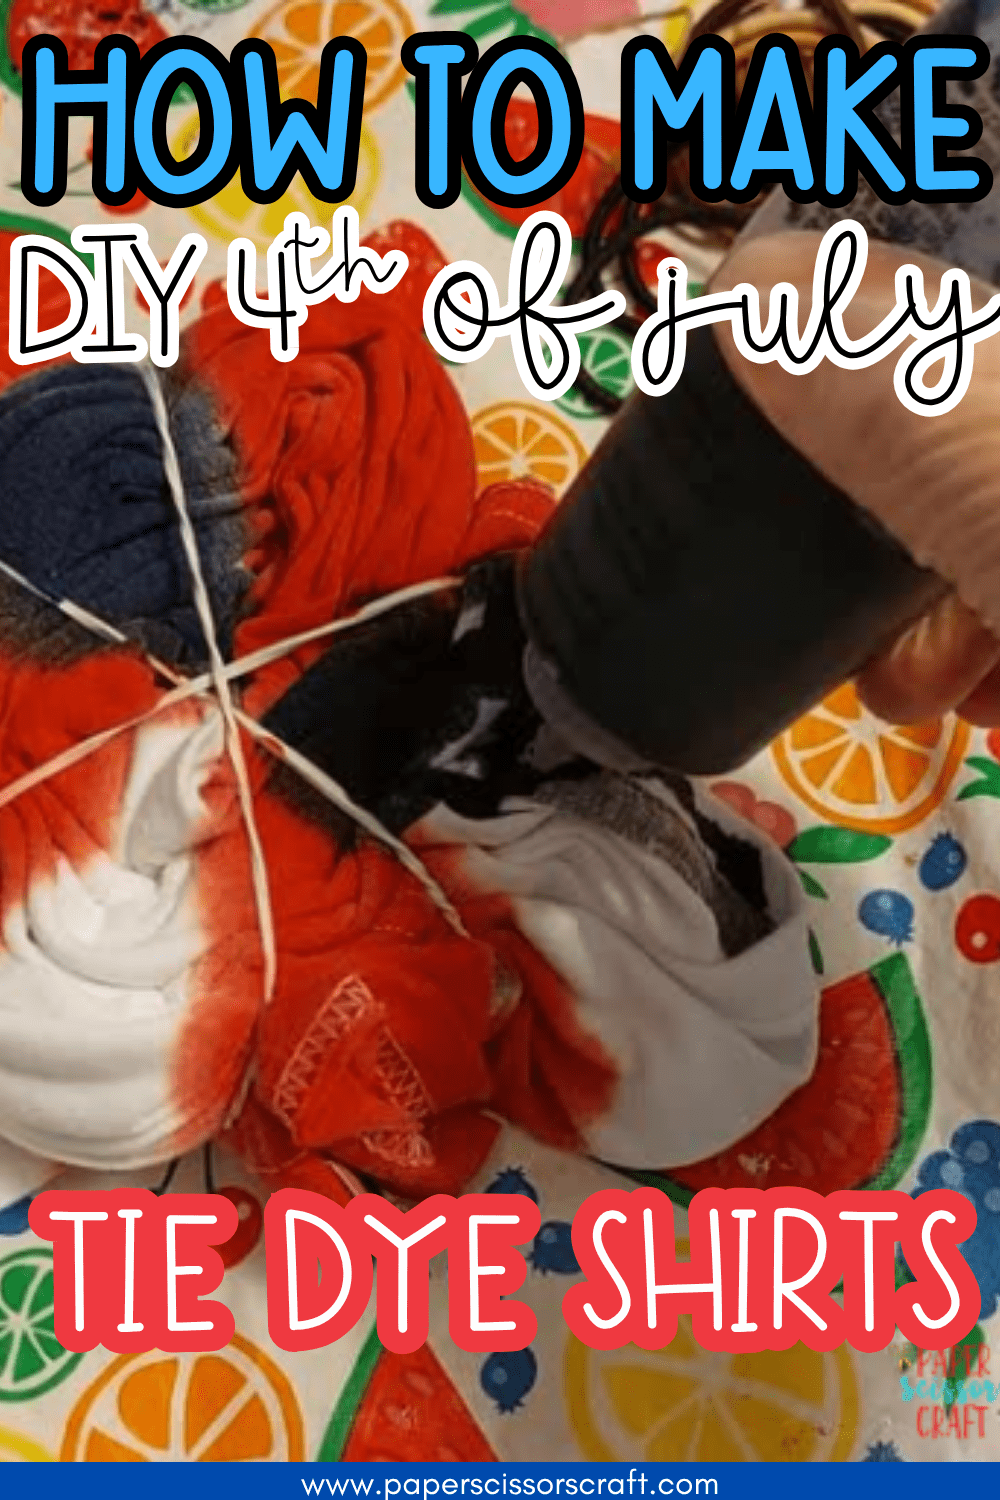
How to Make 4th of July Tie Dye Shirts
Creating red, white, and blue tie dye shirts is a fun way to celebrate Independence Day! Follow these simple steps to make festive shirts that are perfect for kids and easy enough to do at home or in a group setting.
Materials Needed:
-
100% cotton white T-shirts (pre-washed, you can find pretty cheap shirts at Wal-mart in the craft section)
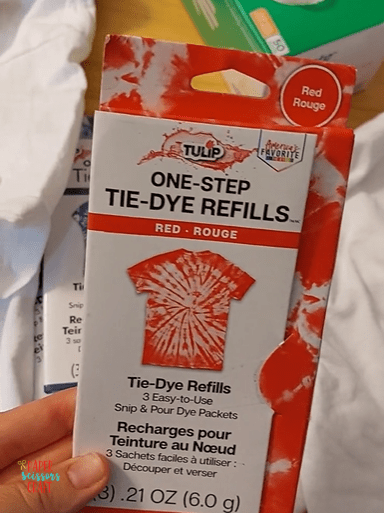
-
Red and blue (these are the ones we got) tie-dye (or fabric dye kits) You can either get a whole kit or just buy red and blue color dye separately.
-
Rubber bands You can also find rubber bands at the dollar store.
-
Plastic squeeze bottles (if not using a kit)
-
Plastic table cover or trash bags (to protect surfaces) Get some dollar store table covers.
-
Plastic gloves (often included in kits)
-
Zip-loc bags or plastic wrap (for setting the dye)
-
Water and a bucket or sink for rinsing. Or you can do it outside in the hose.
-
Aprons or old clothes (it gets messy!)
-
Paper towels or rags (for clean-up)
Instructions:
-
Set up your space.
Cover your work area with plastic or trash bags. Put on gloves and aprons or old clothes.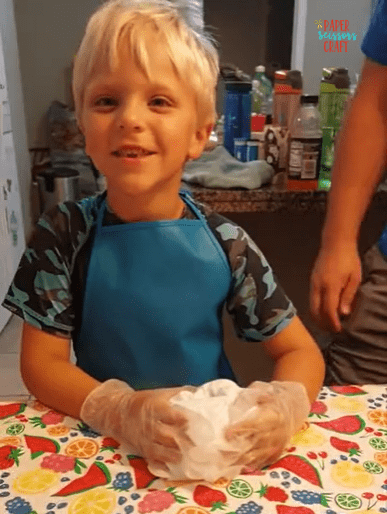
-
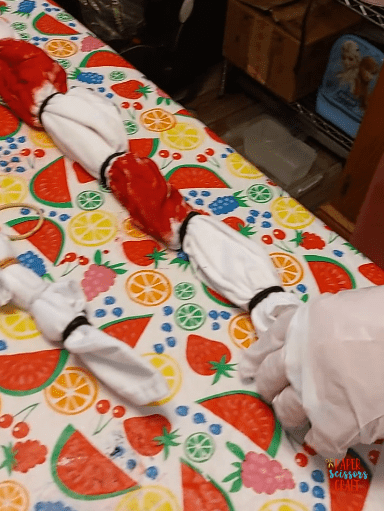
Choose a tie-dye design and roll your shirt.
For the 4th of July, the most popular patterns are (We did the Spiral and the Stripes):-
Spiral: Pinch the center of the shirt and twist into a spiral. Secure with rubber bands to create pie-like sections.
-
Stripes: Fold the shirt accordion-style horizontally or vertically, then add rubber bands every few inches.
-
Bullseye: Pinch the shirt where you want the bullseye center to be and pull up into a cone shape, securing bands along the cone.
-
-
Dye the shirt.
Apply red and blue dye to different sections of the shirt. Leave some white areas for the stars-and-stripes look. Don’t mix the red and blue too much to avoid a purple outcome.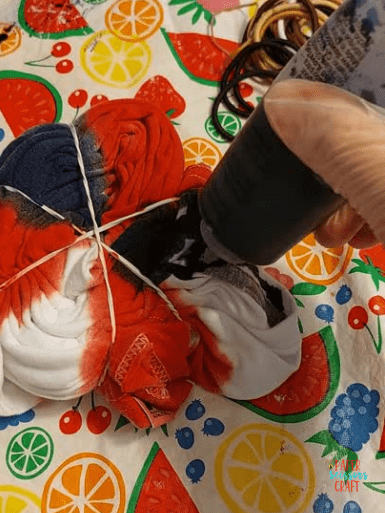
-
Wrap and set.
Place the dyed shirt in a zip-top bag or wrap it in plastic. Let it sit for 6–8 hours (or overnight) so the colors set well. -
Rinse and wash.
Wearing gloves, rinse the shirt under cold water until the water runs mostly clear. Wash the shirt separately in cold water with a small amount of detergent, then dry. You could also throw it in the washer, but make sure you wash it by itself for the first wash. -
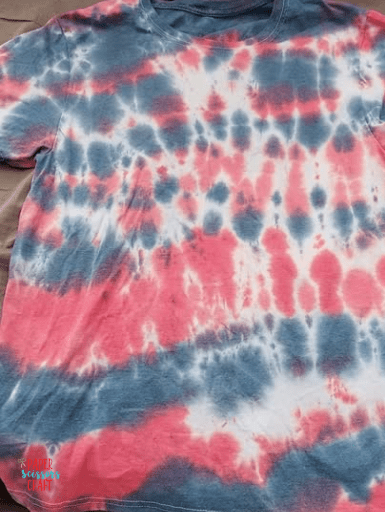
Wear and celebrate!
Your patriotic shirt is ready to wear to parades, barbecues, or fireworks!
When and Where to Make a Patriotic Tie Dye Shirt
Making a patriotic tie dye shirt is a fun and creative activity that works well for many occasions beyond just the 4th of July. Whether you’re crafting at home or with a group, it’s a great way to celebrate and show national pride. Here are some ideal times and places to make your shirt:
-
At home during a summer afternoon or long weekend
-
During a 4th of July party or family barbecue
-
As part of a Memorial Day or Veterans Day activity
-
At school or daycare in the days leading up to a patriotic holiday
-
During summer camp or VBS (Vacation Bible School) craft time
-
At a community event, local fair, or parade preparation
-
As a homeschool art project to go along with a U.S. history lesson
Where will you wear your Patriotic Shirt?
Making 4th of July tie dye shirts is a fun tradition your kids will look forward to year after year. It’s a great way to let them express their creativity while showing off their patriotic spirit. With easy prep and kid-friendly steps, this craft is perfect for families, classrooms, or summer camps. So grab your supplies, roll up your sleeves, and get ready for a colorful celebration!

Leave A Comment